myWerkzeug.de › CNC.myWerkzeug.de › Templates › Workshop
CNC template · Workshop
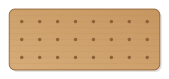
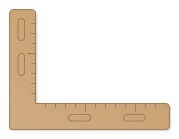
Drilling jig for cup hinges
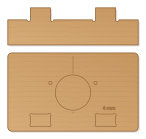
Jig for 35 mm cup hinges: guide hole for the Forstner bit with adjustable distance to the door edge and pilot holes for the screws 45 mm apart.
- Size
- 146 × 139 mm, 12 mm thick
- Material
- Hardwood (beech, oak)
- Difficulty
- Beginner
- Milling time
- approx. 15 min
- Bits
- V-bit 60°, End mill Ø 3.175 mm
- Customise
- Size, text and details adjustable with sliders
- With a laser
- too thick for a diode laser (12 mm)
Try it without an account · carve with Chrome or Edge · no installation
Build instructions
Materials and accessories
| Qty | Part |
|---|---|
| 1 | Wood glue (water-resistant D3) |
Also: sandpaper (grit 120 and 240), a utility knife or fine saw and, for joints, a rubber mallet.
Carving and finishing
- Clamp the workpiece flat on the spoilboard or secure it with double-sided tape, and set the origin as shown in the carving assistant.
- Mill the mortises, guide hole and pilot holes, engrave the centre line, then cut out plate and fence.
- Free the parts at the holding tabs with a utility knife or fine saw and sand the tab remains flush.
- Before gluing, dry-fit everything. If a joint is too tight, increase the clearance by 0.05 mm and carve the part again; if it wobbles, reduce it.
Assembly and final touches
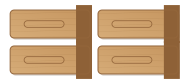
- Glue the fence with its tenons into the plate from below; it must sit exactly square. Sand the tenons flush on top.
- Put the jig with its fence against the door edge, the engraved centre line on the mark for the hinge centre (usually 100 mm from top and bottom). Drill 12 to 13 mm deep with the 35 mm Forstner bit and a depth stop, then prick the screw holes.
How to carve this template
- OpenOpen the template in the app and adjust size and text if you like.
- CheckLook at it in 3D, check run time and warnings.
- Set upThe carve wizard guides you through material, clamping, bit and zero point.
- CarvePress start; the app drives your Grbl router directly over USB.